Stir the flour, baking powder, and salt together in a bowl.
In a medium sauce pot over medium heat, melt butter. Continue to cook while it foams and stir constantly until it browns and you see some brown specks at the bottom and it starts to smell a bit toasted. Remove from heat.
Once butter cools a bit, add sugar and vanilla extract.
Next, beat in the eggs one at a time with a spoon.
Gradually add the flour mixture, and stir the batter until it’s evenly moistened.
Divide the batter in half to two separate bowls.
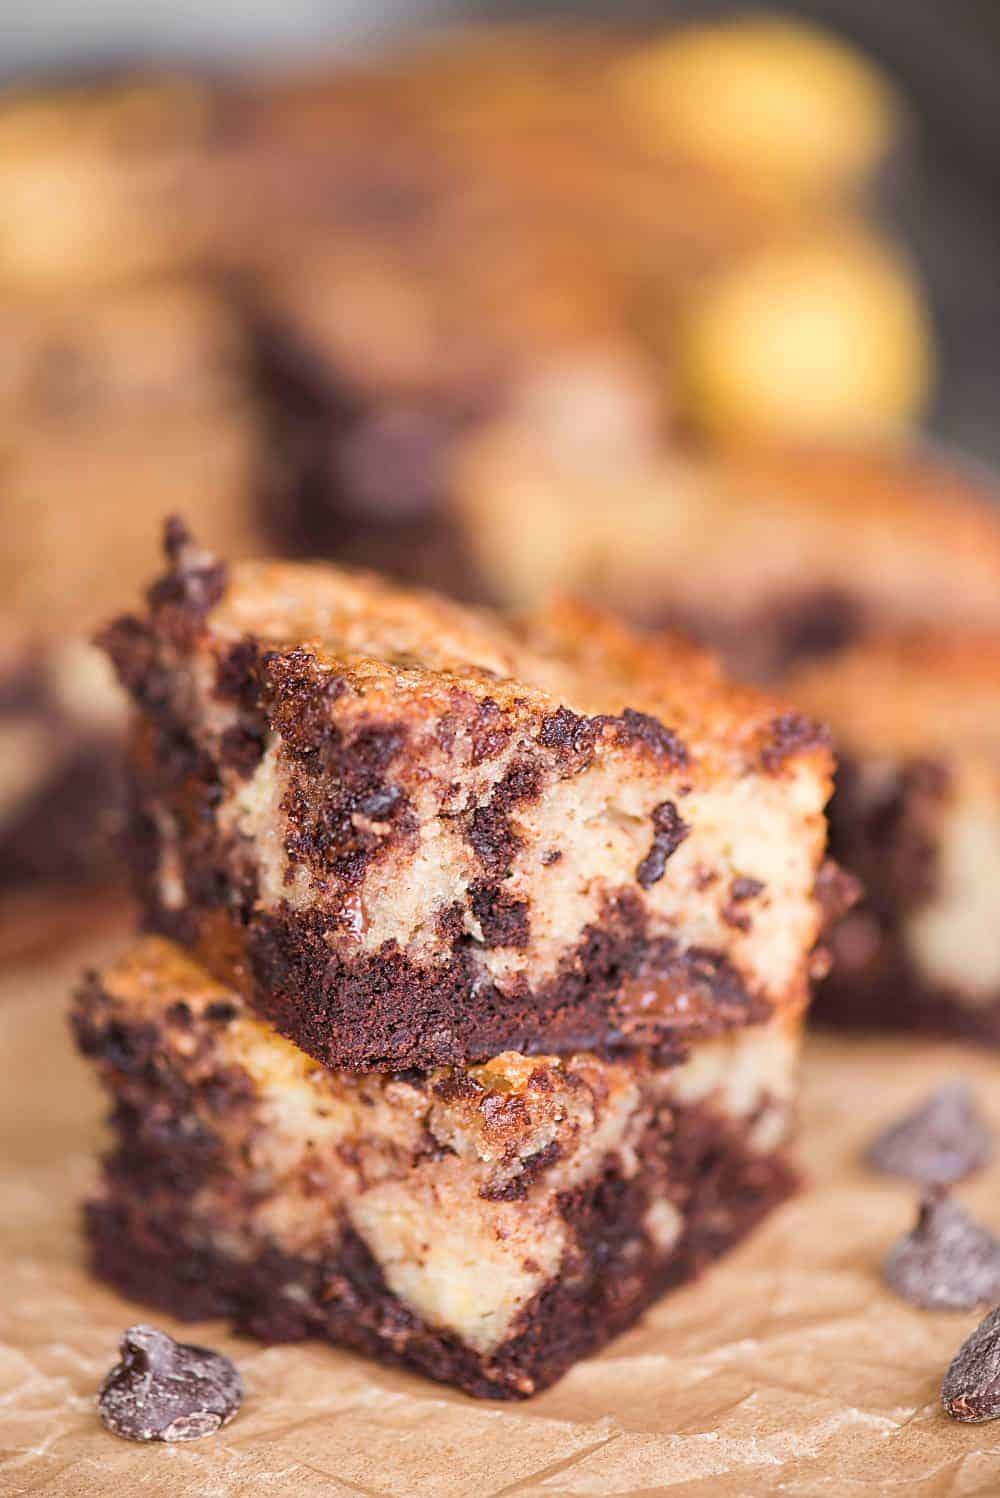
Into one bowl of batter, blend the cocoa powder and chocolate chips. This mixture will be very thick.
In the second bowl of batter, stir in the mashed banana.
Spread 1/2 of the chocolate batter into the bottom of the prepared baking pan, and follow with all of the banana batter. For the remaining chocolate batter, you can either spoon it on top or you can put it in a plastic bag, snip off the corner, and squeeze it onto the banana batter in lines.
Use a butter knife or a spatula to swirl the two batters together to create a marbled appearance.
Bake in the preheated oven until the brownies begin to pull away from the sides of the pan, and a toothpick inserted into the center comes out clean, 40 to 45 minutes
Put all in food-processor. Blitz until smooth. Transfer the mixture to a normal mixing bowl
Add your choice of flavourings
Blueberry
1 cup of fresh/frozen blueberries
Strawberry
1 1/4 cups strawbs chopped into small pieces
1 additional dessert spoon of flour
Choc chip
150g choc chips
12 small cubes of chocolate (1 in the centre of each muffin)
Apple
1 1/2 cups of finely chopped cooking apples (probably about 1 large sized cooking apple)
Size of the apple pieces to be about 1cm x 2cm
1 tea spoon of ground cinnamon
Method
After mixing your flavourings, pour your mixture into individual muffin cases. It makes about 12 muffins.
Put into the oven on 195 degrees on a fan oven.
After 20 minutes, check how they’re doing. If you’ve got fruit in the muffins, you can’t test they’re cooked by using a skewer, so instead try prodding one of them with your finger: if they spring back when you push them, they’re cooked.
Preheat oven to 180C or 160C fan. Lightly grease 2 x 20cm (base measurement) round cake tins and line the bases with non-stick baking paper. Using electric beaters, beat eggs in a large bowl for 5 mins, until thick, pale and increased in volume. Add sugar, 2 tbsp at a time, beating well after each addition. Beat in vanilla.
Sift flour over egg mixture. Using a large metal spoon or rubber spatula, fold in until combined, taking care not to lose volume. Divide evenly between prepared tins.
Bake for 18-20 mins, until the cakes spring back to a light touch in the centre. Cool in tin for 5 mins, then turn out onto a wire rack and peel away the paper. Leave to cool
Place 1 cake onto a serving plate and pipe or dollop with the whipped cream. Spread the other sponge with jam and invert onto the bottom cake. Put icing sugar into a small sieve and dust top of cake. Top with strawberries.
Stir enough for ingredients to be thoroughly mixed but no more than you have to to make the dough
Sprinkle flour (self-raising or plain) on the bench to make an area where you can roll the dough
Spread dough on the floured surface, and roll out to about 2 or 3 cm thick
Prepare the baking tray where you will cook the scones by putting baking paper on it so the scones don’t stick
Cut into scone-size pieces and place on the baking tray (make sure there is enough space around each scone for it to grow
Put the tray in the oven for about 20 or 25 minutes
Eating
Fun fact: Traditionally scones are eaten with jam and cream. This works really well, but jam can be replaced with chocolate spread or honey. Banana also works well instead of, or as well as, cream.
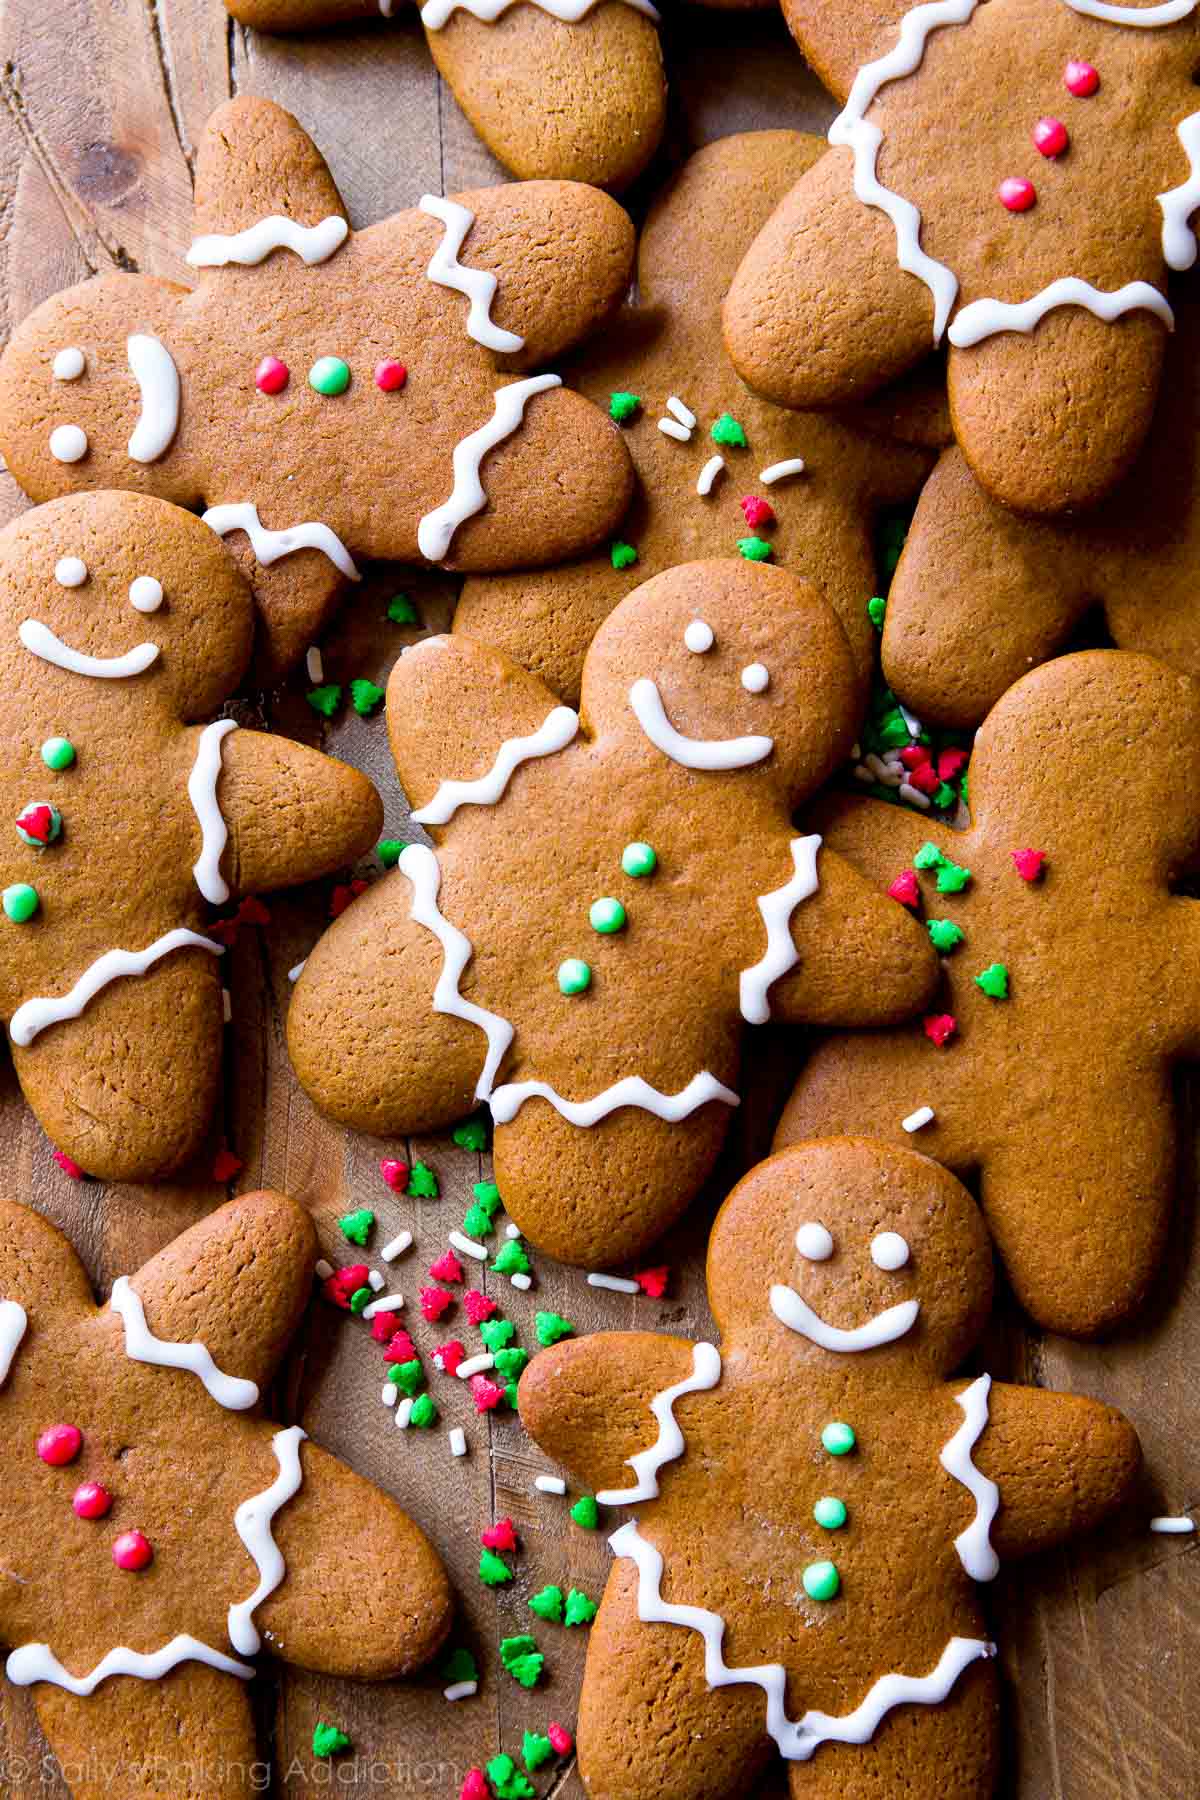
Gingerbread has been around for centuries; the gingerbread fair in Paris dates back to the 11th Century. Gingerbread figures were originally made as pigs and later developed into little men. This recipe makes crispy gingerbread biscuits that are perfect for gingerbread shapes. They can stand up to plenty of dunking because of their crispy texture.
Ingredients
2 ½ cups plain flour, sifted
1 tsp baking soda
125g butter
½ cup brown sugar
½ cup golden syrup
2 tsps ground ginger
½ tsp ground cinnamon
1 tsp ground nutmeg
½ tsp ground cloves
Method
Cream butter and sugar until pale and fluffy. Add the golden syrup and sift in the flour, baking soda and spices. Mix to form a smooth dough.
Divide the dough in half and wrap in plastic film, refrigerate for at least 30 minutes or until firm.
Preheat oven to 190oC.
Roll out the dough between sheets of non-stick baking paper to 5mm thickness. Cut out shapes with a gingerbread man cookie cutter. Place on a baking tray lined with baking paper.
Bake for 8 minutes or until golden. Place on a cake rack, cool then decorate.
The gingerbread biscuits will not change much in colour whilst baking – take care not to burn them!
Using your fingertips, rub butter into flour until mixture resembles breadcrumbs.
Make a well in the centre. Add 1 cup of milk. Mix with a flat-bladed knife until mixture forms a soft dough, adding more milk if required. Turn onto a lightly floured surface. Knead gently until smooth (don’t knead dough too much or scones will be tough).
Pat dough into a 2cm-thick round. Using a 5cm (diameter) round cutter, cut out 12 rounds. Press dough together and cut out remaining 4 rounds. Place scones onto prepared baking tray, 1cm apart.
Sprinkle tops with a little plain flour.
Bake for 20 to 25 minutes or until golden and well risen.
250g (about 1/2 bunch) English spinach,trimmed, washed, dried, shredded
150g feta, crumbled
110g (1/2 cup) chopped semi-dried tomatoes
2 tablespoons finely grated parmesan or vegetarian hard cheese
330ml (1 1/3 cups) milk
90g butter, melted
1 egg
1 tablespoon chopped fresh dill
2 tablespoons finely grated parmesan or vegetarian hard cheese, extra
METHOD
Step 1 Preheat oven to 200°C. Brush twelve 80ml (1/3-cup) muffin pans with canola oil to lightly grease.
Step 2 Sift flour into a bowl. Add shredded spinach, feta, tomatoes and parmesan, and stir to combine. Use a fork to whisk together milk, butter, egg and dill until well combined. Add milk mixture to flour mixture and use a metal spoon to stir until just combined (do not over mix).
Step 3 Spoon mixture into prepared pans. Sprinkle with extra parmesan. Bake for 20 minutes or until a skewer inserted into the centre comes out clean. Turn out onto wire rack to cool. Serve warm or at room temperature.
This is a fantastic unbaked cheesecake. To be honest, it’s a bit boring to make because it’s so easy, but on the plus side … it’s so easy!
Ingredients
Base
250g Digestive biscuits (finely crushed)
100g (6tbsp) butter (melted)
3tsp cocoa powder
Cheesecake layer
750g full-fat cream cheese
250g low fat cream cheese
200g icing sugar
1 orange
200g dark chocolate (melted)
2tbsp brandy
Method
Simple instructions
For the base, mix all the base bits together in a bowl, then put them in the cake tin.
Repeat for the cheese-cake layer.
Put it in the fridge for four hours.
Detailed instructions
Base
Finely crush the digestive biscuits. A good way of doing this is in a blender. If you have a slicing tool then that can be a good starting point to get all the biscuits into quite small pieces. Then use a mixing blade to get them much finer.
Melt the butter in the microwave in a microwave-safe bowl. Remember to cover the bowl to avoid splatters. It will take about 30-45 seconds.
Mix with the crushed biscuits in a large bowl.
Add the cocoa
When it is all mixed, pour the breadcrumb base into a ~22cm cake tin. Use a rubber spatula or a large spoon to push the crumbs down firmly to make a smooth flat base. It should no longer look like crumbs but like a single flat chocolatey disk. Use the spatula to clean out the bowl thoroughly.
Filling
Using the same bowl that you just used for the base, which should no longer have more than one or two crumbs in it, but may have buttery cocoa around the sides …
Add all four tubs of cream cheese. Notice that we’re using 3 full-fat and one low fat. Using only low-fat makes the cake too runny, and if you use 4 full-fat it is a bit too solid. 75% full-fat seems to be the right mix, but you could also try 50/50.
Add the icing sugar
Melt the chocolate. Melting this in the microwave doesn’t really work that well – Google it if you’re interested in why. A better method is to break the choc into small pieces (single lumps) into a small bowl that fits inside a saucepan. Add some water to the saucepan, then put your small choc bowl in. i.e. the small bowl of choc is having a bath in the saucepan of water. Now you can melt the choc on the stove.
Add the chocolate to the cheese and icing sugar.
Clean the skin of your orange to remove any nasty chemicals, then use a zesting grater to take the outer 1mm of skin from your orange. Add that zest to your bowl. Taste a tiny bit – it’s super orange-y, but not sweet. Kind of odd!
We need the juice of half your orange. Only use half the orange for juice because too much juice will make it difficult for the cake to set.
[optional] Add two caps of brandy
Mix it all together using an electric whisk. If you haven’t got one you can use a spoon, but you’ll need strong arms!
Use your rubber spatula to pour all of the filling into the cake tin. It will likely just be a big pile in the middle and won’t be smooth. You can settle it down by jiggling the cake tin.
Cover it in cling film then put it in the fridge for 2 hours.